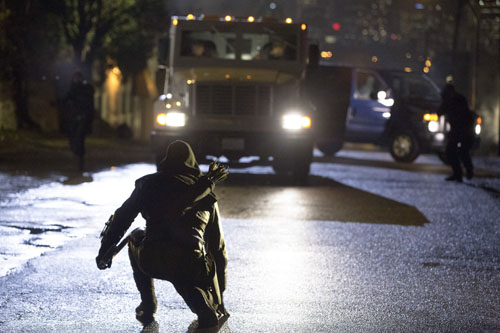
Arrow — “Trust But Verify” — Image AR111c_0187b — Pictured: Stephen Amell as The Arrow — Photo: Jack Rowand/The CW — © 2013 The CW Network. All Rights Reserved

TV Recap: ‘Arrow’ Episode 111 – ‘Trust But Verify’
Arrow — “Trust But Verify” — Image AR111c_0187b — Pictured: Stephen Amell as The Arrow — Photo: Jack Rowand/The CW — © 2013 The CW Network. All Rights Reserved